| MMv4 KB |
| Template Package Sandbox | |
| Last Edited - 05/15/2013 1:51pm PDT | |
| Category Path - Shopping Cart Software Components > Administration Area > Design | |
| The Template Package Sandbox provides a flexible way to edit the design and layout of your storefront pages, where your customers will shop and check out. The sandbox includes both a WYSIWYG ("what you see is what you get") view and a source code view. The WYSIWYG view can be used to edit a template's text, images, styles and images. The source code view is available for advanced users to either edit the template's HTML source code directly, or to paste in HTML source code created elsewhere. The sandbox also includes options to preview, clone, download or delete Template Packages, and more! The Template Package Sandbox has several sections, each of which is reviewed below.
Select a Template Package
In the row, Select a Template Package to Edit, is a dropdown menu that displays all of your existing template packages. Selecting a package from the dropdown menu will automatically reload the page and display it for editing. The package can now be modified using the Template Package Options and Editor. A new template package can be uploaded by clicking the Upload a new Template Package link in the top right of the section. Click this link to bring up the Upload & Install a Template Package popup. (See the example image below.) 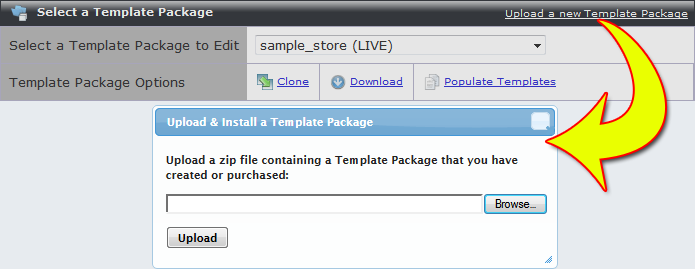
Popup is generated by clicking Upload a new Template Package.
warning
The template package must be in the form of a zip file of the entire directory for the template package. If you select just the individual template files, and create a zip of that, then the server won't be able to understand the directory structure of the zip file when it is uploaded. For more information on the directory structure, zip files, and creating custom template packages in general, please refer to the Creating Template Packages article chain.
Click the Browse button to search your computer for the zipped template package. Once you have located it, click the Upload button to import it. The shopping cart software will automatically upload and unzip the zip file, copy all of the Template Package’s files to the appropriate locations on the server, and then delete the copy of the zip file on the server. (Your original copy of the zip file on your computer will remain.) The Template Package Options row, depending on the current state of the template package, displays several options. Apply to storefront This option will appear when the template package is selected, but not the currently live package. This will make the template package the one seen by your customers in the storefront. It will replace the currently live template package. Preview This option will appear when the template package is selected, but not the currently live package. You may select this option to preview the template package in your storefront. Upon selection, the Template Package Sandbox will reload, putting the package into preview mode, and opening the storefront in an alternate web browser tab. This is only viewable by you, and not anyone else. (most importantly, your customers!) Stop previewing When the template package is in preview mode, it will appear in the dropdown menu as "template_name (PREVIEWING)". In place of the Preview link, will be a link to "Stop previewing". Clicking the Stop previewing link will take the package out of preview mode. 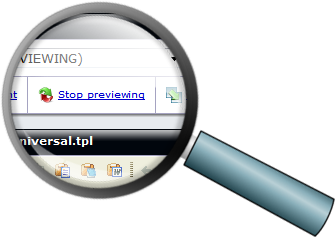 The Clone option can be used to create a backup of the template package. This will be an exact replica of the original template package. It is a good idea to clone a template package before making any large changes. This way, you can revert back to the original package later if you wish. The cloned template package will appear among your other template packages in the dropdown menu. 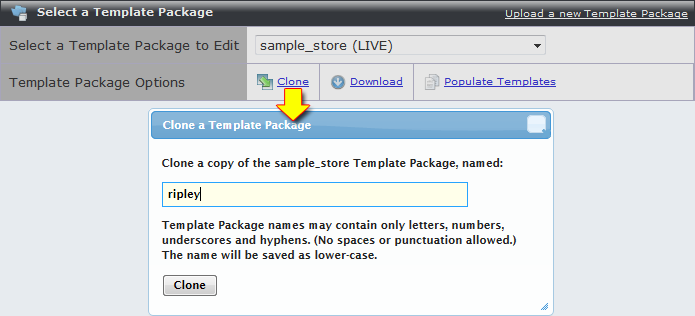
This clone will be named "ripley".
Download The Download option can be used to download a copy of the selected Template Package to your computer. When this option is used, the server will create a zip file containing the Template Package, and the zip file is what will be downloaded. This section consists of three secondary options: 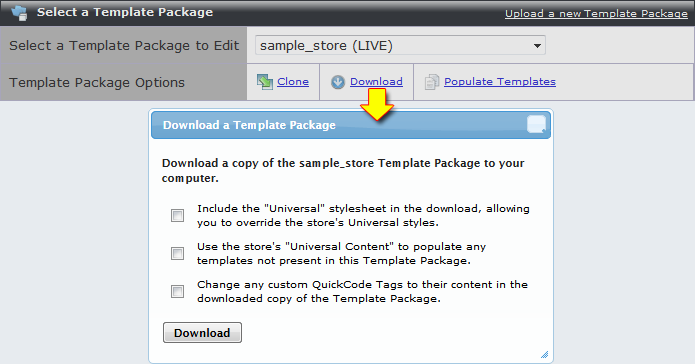 Selecting this option will have the download include the "Universal" stylesheet of the template package. The stylesheet can be used to override the store's Universal styles with styles that you specify. Use the store's "Universal Content" to populate any templates not present in this Template Package. A Template Package will contain roughly 35 different templates, one for each section of the storefront. However, new to MMv4 is the option to make an entire Template Package that consists of just one single template! All MMv4 Template Packages must contain, at a minimum, a template titled universal.tpl. This universal template will be used in the place of any other template excluded from the Template Package.
example
The Store Home page uses a template named index.tpl. It is the template that is used by the home page of the store's public shopping area.
If a Template Package does not include the index.tpl template, then, when a customer view's the store's home page, the contents of the universal.tpl template will automatically be used to render the store's home page instead. If the Template Package excludes one or more templates, select this option to have the system automatically add all missing templates to the version of the Template Package that is downloaded. The format of the universal template will be used to generate the missing templates.
controlling a package's templates
Selecting this option will generate new template files only in the version of the Template Package that is downloaded. No files will be added to the copy of the Template Package on the server.
However, if that version of the Template Package is then uploaded back up to the server, then the templates that are uploaded will be added to the version of the Template Package that is on the server. Change any custom QuickCode Tags to their content in the downloaded copy of the Template Package. This option will replace any instances of {CUSTOM-X} QuickCode Tags that have been created with the Custom QuickCode Tag Editor that are present in the templates with the custom QuickCode Tag's actual source code.
controlling template source code
Selecting this option will cause the Custom QuickCode Tags to be replaced with their source code only in the files that are downloaded. The Template Package's files on the server will not be altered.
However, if that version of the Template Package is then uploaded back up to the server, then the files that are uploaded will overwrite the versions on the server. Populate Templates The Populate Templates tool can be used to add missing templates to the selected Template Package. Additionally, templates that are already present in the selected Template Package can be replaced with their default version. Clicking the Populate Templates link will bring forth a popup window, listing all of the available templates that may be populated into the package. Templates with red font are templates that are already populated into your template package. Replacing these templates will replace them with their default version. 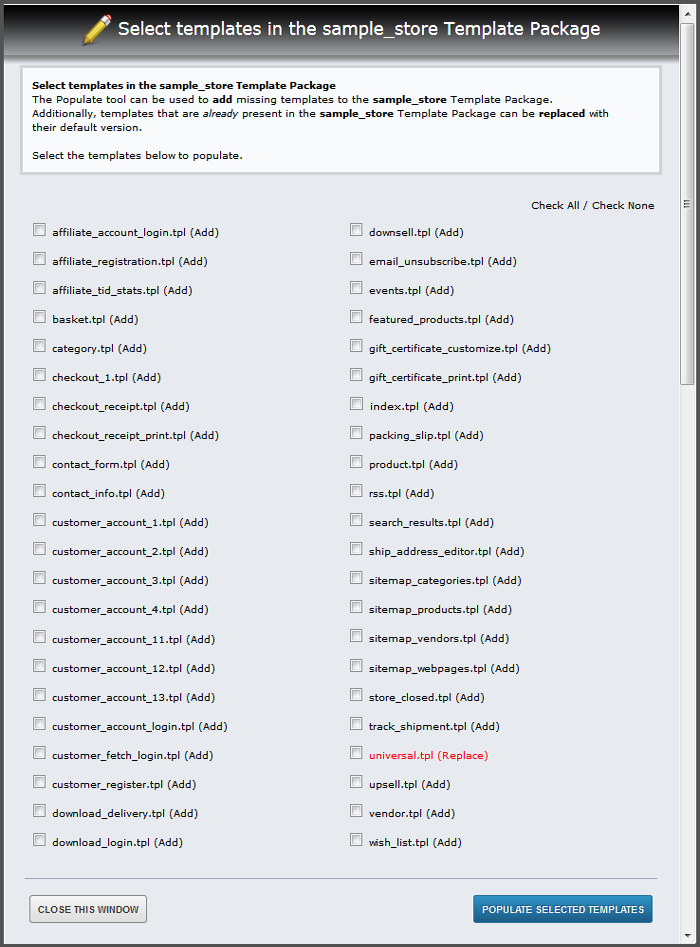
Full display of the Populate Templates popup window.
Delete Template Package The Delete Template Package option, as you may have guessed, is used to delete the currently viewed template package.
warning
Deleting a template package is irreversible. Once you have deleted it, it can not be undone. Not even Modular Merchant tech support can bring it back.
Upon selection of this option, you will be warned and asked for confirmation before deleting the template package. For example, when deleting one of the clones I created of my sample_store template package: 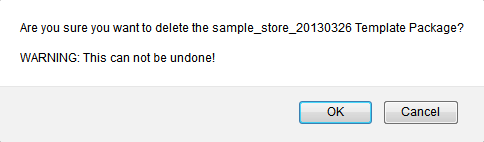
Final warning!
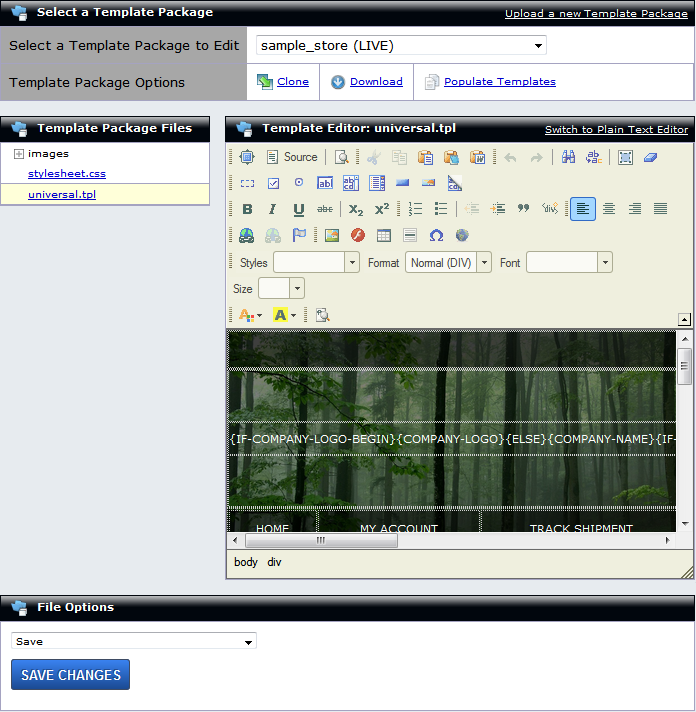
Template Editor
The Template Editor will start in WYSIWYG mode. The template's text, images, styles, tables and other content can be edited directly while in WYSIWYG mode. Alternately, access to the template's source code is available by clicking the Source button on the upper left portion of the HTML editor control panel. Once the source code is revealed, it can be edited directly as well, or source code can be pasted in to replace it.
third-party software support
The WYSIWYG HTML editor was not developed by Modular Merchant; it was developed by a company called CK Source. The HTML editor's User's Guide can be found on that company's website at http://docs.cksource.com/CKEditor_3.x/Users_Guide.
adding scripts to templates
The WYSIWYG editor was designed for editing HTML and displaying what the page might look like in a web browser. If PHP, JavaScript, or CSS code is pasted into the editor while in WYSIWYG mode, then the code will not function as intended.
To add this type of code to a template, click the Source button on the editor. This will allow the scripts to be pasted directly into the template's source code, preventing the editor from applying formatting to it. If you have a preferred HTML editing program, such as Dreamweaver, then it is still possible to use it to edit templates. Simply develop the template as desired in the HTML editing program, then, when you're ready to import it into your store, copy the template's source code from within the HTML editing program, click the Source button in the Template Editor to view the template's source code, and then paste the source code that was copied from the HTML editing program into the Template Editor.
Template Package Files
This section holds all of the files located in the directory for the selected template package. This includes the package's images directory, all of the currently populated templates, CSS and JavaScript files, etc. When selecting a file from this section, it will open it up in the editor menu to the right. Templates will be opened in the Template Editor, images will be opened for viewing of their Image Details, and other such files will be opened in the File Editor (such as CSS, JavaScript and PHP files). 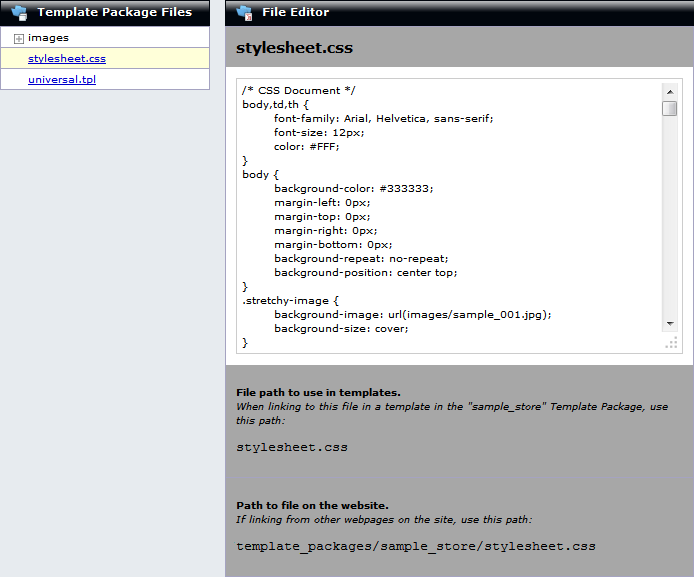
The stylesheet for the template package opened in the editor.
File Options
This section includes a menu with the options: Save This option simply saves the currently viewed template or file. Save as a copy... This option saves the template or file as a new copy, with all of the changes that were just made in the editor above. It will save the a copy of the file with the name you specify. It is not necessary to enter a file extension, as the system will determine what type of file is being saved (such as .tpl, .css, .js, etc.), and save with the correct file extension.
note
When saving the template or file:
- It may only contain letters, numbers, underscores and hyphens. (No spaces or punctuation allowed.) - The file name will be saved as lower-case. Create a new file in this Template Package... This option gives the ability to create a new CSS, JavaScript, template or text file in the template package, with the name you specify. Similarly to saving a copy of a file, the system will automatically assign the correct file extension to the new file. In addition to creating the new file, you may also specify a new directory within the directory of your template package to contain the new file. 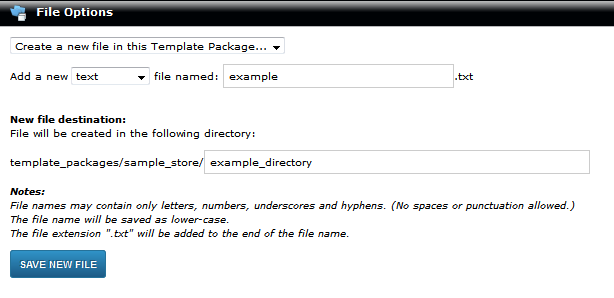
The "example.txt" file would be created in the "example_directory" directory.
tip
This is not limited to just one additional directory level. For example, you could have "template_packages/package_name/directory1/directory2/directory3" and so on. The created file will be saved in the deepest specified directory.
Upon saving the new file, it will then display under the "Template Package Files" section, in the newly created directory. It will also open the file up for editing: 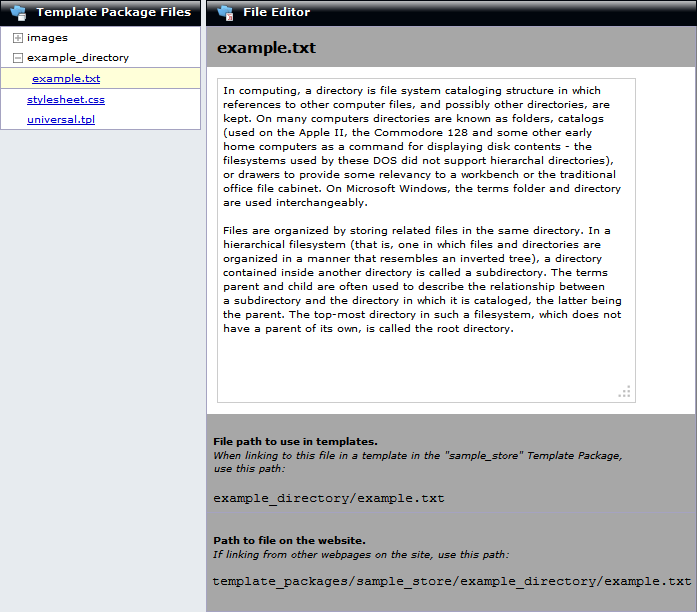 A short, educational document on directories Upload file(s) to this Template Package... This option gives the ability to upload files from your computer to the Template Package. You may also specify a new directory within the template package that the file is uploaded to. Delete This option deletes the currently selected file. This cannot be undone! |