|
quote
I need to add a working link to take a visitor to a page on the cart to read the excerpt for the book. Can I add a link that will either open a new window with the excerpt page or move the customer to the except page?
Using the Custom Webpage Editor, located in your store's Administration Area at [Design > Add a Custom Web Page], it is possible to create new web pages that can be linked to in your storefront.
For this example the Custom Webpage Editor will be used to create a link, that will be used at the end of the long description of a product (The Dr. Seuss Classic: "One Fish Two Fish Red Fish Blue Fish"). The link will be set up to open up a new window with an excerpt from the book.
Creating the webpage
First, the custom webpage including the book excerpt will need to be created, using similar to the following steps:
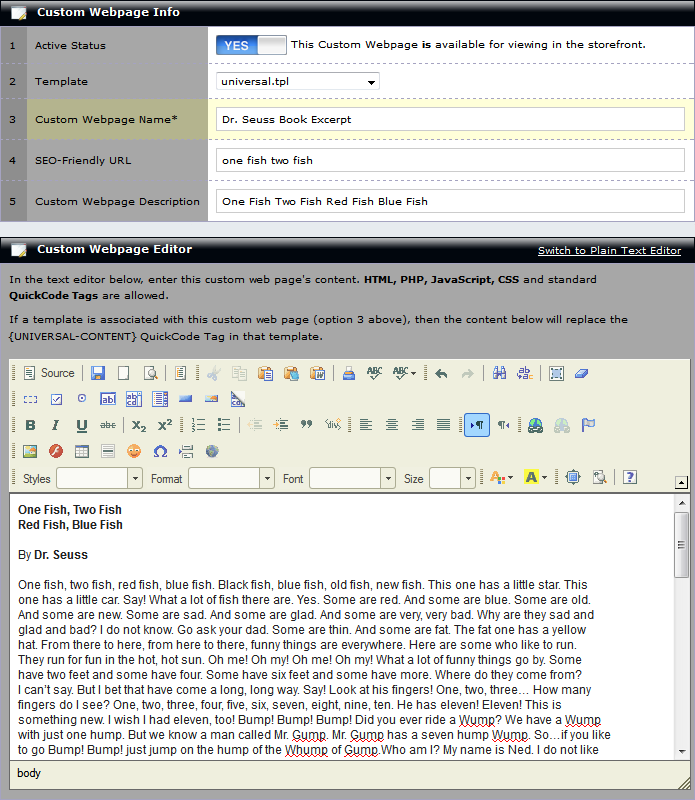
1. In your Administration Area, locate [Design > Add a Custom Web Page].
2. Active Status - Toggle this option to YES to enable it for viewing in the storefront.
3. Template - Optional, may be specified to allow the webpage to use one of your template package's templates as a layout, or None (No Template).
4. Custom Webpage Name* - The name of the webpage.
5. SEO-Friendly URL - Optional, allows customization of the SEO-Friendly URL. By default, the Custom Webpage Name will be reused for this option, but may be specified as whatever you desire.
example
If my Custom Webpage Name was "Dr. Seuss Book Excerpt", and I left the SEO-Friendly URL blank, when I save the editor it will put "Dr. Seuss Book Excerpt" in its place, causing the URL to appear in the storefront as:
www.example-store.com/dr-seuss-book-excerpt-w15.php
In this example, I am going to enter "one fish two fish" for my SEO-Friendly URL:
www.example-store.com/one-fish-two-fish-w15.php
6. Custom Webpage Description - Optional, may be used to enter an internal description for the webpage.
7. In the Custom Webpage Editor, enter the excerpt for the book.
8. Under File Options, select Save Changes, and click Go.
Applying the link
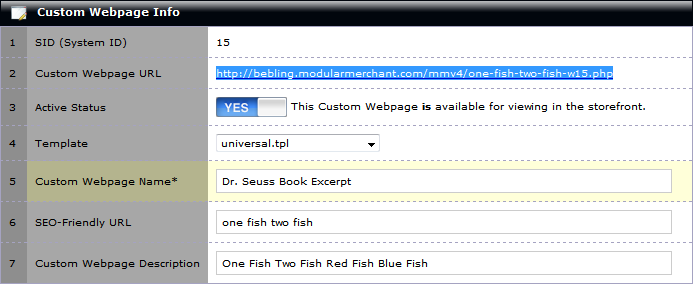
Once the custom webpage has been created, the Custom Webpage URL will be displayed. This URL may be used to create a link within the product's long description that leads to the book excerpt. Highlight and copy the URL.
Then, open the product associated with the excerpt in the Product Editor:
1. Locate [Products > Search Products], and open the product in the editor.
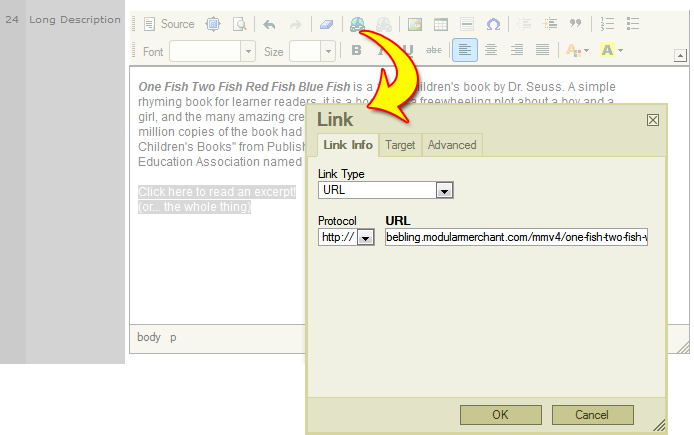
2. Scroll down to the Long Description. At the end of the long description, enter the text that will be used to navigate to the excerpt (such as "Click here to read an excerpt."). Highlight that text.
3. At the top of the Long Description editor are a variety of editing tools. In the top row, is the Link button (a small globe icon with chain links). Click the Link button.
4. In the URL field, paste the custom webpage link. Click OK.
5. Click Save Changes.
When the product is viewed in the storefront, at the end of the long description, a link will be included to view the custom webpage that contains the book excerpt.
Opening the excerpt in a new window
To set the link to open the excerpt in a new window, open the product up in the Product Editor once more:
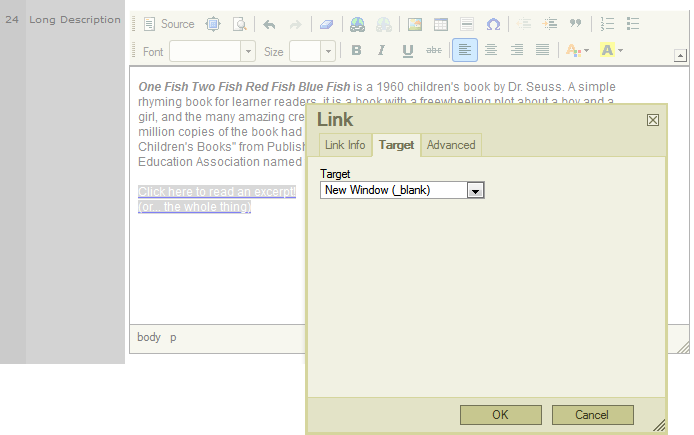
1. Back under the Long Description, highlight the linked text for the book excerpt.
2. Click on the Link button again (the small globe icon with chain links).
3. Click the Target tab of the popup window.
4. From the dropdown menu, change "<not set>" to New Window (_blank).
5. Click OK.
6. Click Save Changes.
When the product is viewed in the storefront, and a customer clicks the link, the excerpt page will open in a new window. The window with the product page will be left untouched, and still opened for viewing by the customer.
|